Introduction
USB drives are essential in today’s digital world for transferring files, backing up data, and storing important documents. However, USB drives are prone to breaking due to physical damage, logical errors, or improper use. The good news is that most broken USB drives can be fixed at home without professional help. This guide will walk you through how to diagnose the problem and repair your USB drive efficiently.
Understanding Different Types of USB Drive Issues

Before starting the repair process, it’s crucial to identify the type of issue with your USB drive.
- Logical Errors: These occur when the USB drive becomes unreadable due to corrupted files, software errors, or formatting issues. Logical errors are often repairable using software solutions.
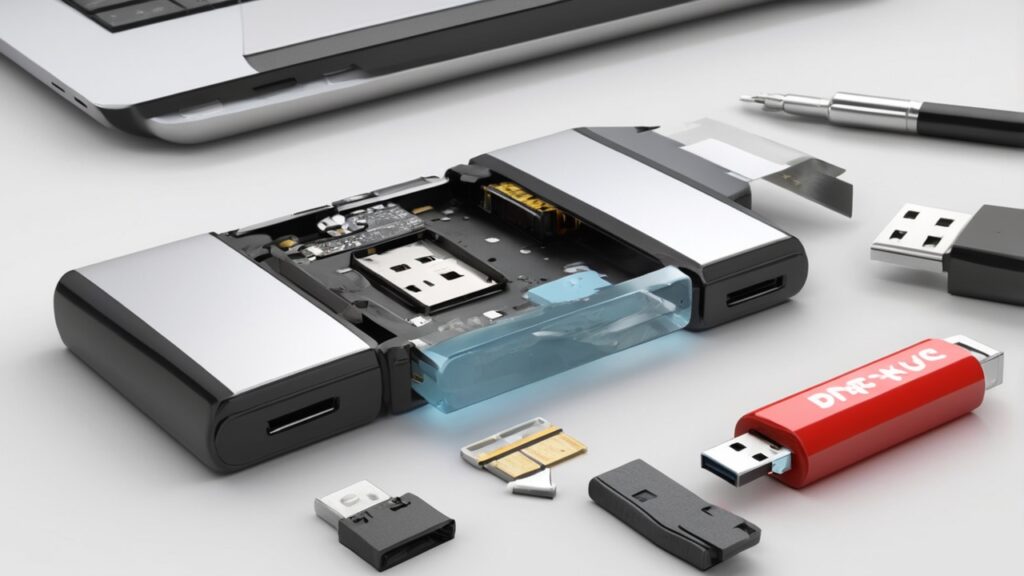
- Physical Damage: This includes broken connectors, damaged circuits, or cracked casings. Fixing physical damage might require tools and a bit of technical skill.
Understanding the difference helps you choose the right repair method and ensures you don’t worsen the damage.
Essential Tools and Software for Repairing USB Drives at Home
Here’s a list of tools and software that can help repair your USB drive:
Free Software Tools
- CHKDSK (Windows): Built-in tool for fixing file system errors.
- Disk Utility (Mac): Ideal for diagnosing and repairing USB issues on macOS.
- TestDisk: A powerful open-source tool for data recovery.
- EaseUS Data Recovery Wizard: For retrieving lost files after repair.
Hardware and Repair Kits
- Small screwdriver set
- Soldering kit (for physical repairs)
- Spare USB connectors or wires
By having these tools ready, you can easily fix both logical and physical USB drive problems.
Precautions Before Repairing a USB Drive

Before jumping into the repair process, take some precautions to avoid data loss or further damage:
- Back Up Your Data
- If the USB drive is still somewhat functional, back up your files immediately. Use file recovery software if necessary.
- Handle Physical Damage Carefully
- Avoid bending or forcing a broken USB drive into a port. This can worsen the damage.
- Avoid Overwriting Files
- If you’re repairing logical errors, ensure you don’t write new files onto the drive, as it could overwrite existing data.
Taking these precautions ensures the repair process goes smoothly.
How to Fix Logical Issues in a Broken USB Drive
Logical issues are the most common problems with USB drives. Follow these steps to resolve them:
Step 1: Connect USB Drive and Diagnose the Problem
- Plug your USB drive into a functioning USB port.
- Check if the drive is detected under File Explorer (Windows) or Disk Utility (Mac).
Step 2: Use the “CHKDSK” Command in Windows
- Press
Win + R, typecmd, and hit Enter to open Command Prompt. - Type:
chkdsk X: /f(replace X with your USB drive letter) and press Enter. - Wait for the tool to scan and repair file system errors.
Step 3: Reformat the USB Drive to Restore Functionality
If the CHKDSK command doesn’t work, reformat the USB drive:
- Open File Explorer, right-click on the USB drive, and select Format.
- Choose FAT32 or NTFS as the file system.
- Click Start to format the drive.
Warning: Formatting erases all data. Use recovery tools before proceeding if files are important.
Step 4: Use Data Recovery Software
If your data is lost after formatting, use recovery tools like EaseUS or Recuva to restore files.
How to Repair Physical Damage on a USB Drive

Physical damage is trickier to fix but not impossible.
Identifying Physical Damage
Look for:
- Bent or broken USB connectors
- Loose or missing solder points
- Cracked casing
Fixing Broken Connectors or Solder Points
- Open the USB Drive Casing: Use a small screwdriver to carefully open the casing.
- Inspect for Loose Connections: Check the solder points where the USB connector attaches to the circuit board.
- Resolder the Connection: Use a soldering kit to reattach any loose wires or connections.
Tip: Be cautious while soldering. Excess heat can damage the circuit board.
Using Disk Management Tools to Repair USB Drive Errors

Windows users can use Disk Management to repair a USB drive:
- Press
Win + Xand select Disk Management. - Locate your USB drive, right-click on it, and choose Properties.
- Select Tools > Error Checking and follow the prompts to repair errors.
- Repairing USB Drives on Mac
If you are using a Mac, you can utilize macOS’s built-in tools to repair your USB drive. Follow these steps:
Using Disk Utility
Open Disk Utility: PressCmd + Space, type “Disk Utility,” and press Enter.
Select the USB Drive: From the left sidebar, choose the faulty USB drive.
Run First Aid: Click on the “First Aid” button at the top of the screen.
Follow the Prompts: Disk Utility will scan and repair any logical errors on the drive.
Using Terminal Commands
If Disk Utility doesn’t fix the problem, use Terminal commands for deeper diagnostics:
Open Terminal (via Spotlight or Applications > Utilities).
Type:
Copy codediskutil listThis will display all connected drives. Identify the USB drive.
Run the repair command:bash
Copy codediskutil repairVolume /dev/diskX(Replace “diskX” with the actual USB drive identifier.)
Allow the process to complete. This should repair file system errors.
By using these tools, Mac users can easily fix logical issues without downloading third-party software.
Repairing USB Drives Using Linux
Linux users can use command-line tools to repair USB drives. Here’s how:
Using FSCK (File System Check)
Plug in the USB drive and open the Terminal.
Type:
Copy codelsblk
Identify the USB drive (e.g.,/dev/sdb).
Unmount the drive:bash
Copy codesudo umount /dev/sdb1
Run FSCK to repair the file system:bash
Copy codesudo fsck /dev/sdb1
Wait for FSCK to complete and follow the prompts.
Using GParted
GParted is a graphical tool for Linux users to repair and manage USB drives:
Install GParted if it’s not already installed:arduino
Copy codesudo apt-get install gparted
Launch GParted and select the USB drive.
Use the Check option to repair errors on the drive.
Linux offers robust tools that are effective in fixing USB drives with logical errors.
Recovering Lost or Corrupted Data After USB Drive Repair
If you’ve repaired your USB drive but lost data in the process, use recovery software to retrieve your files.
Free vs. Paid Software Options
Free Tools:Recuva (Windows)
PhotoRec (cross-platform)
Paid Tools:EaseUS Data Recovery Wizard
Stellar Data Recovery
How to Recover Data
Download and install the software.
Connect your USB drive to the computer.
Run a deep scan of the drive.
Preview and recover lost files.
Data recovery tools are lifesavers when your files are accidentally deleted or corrupted.
How to Test Your Repaired USB Drive
Once you’ve repaired your USB drive, it’s important to test its performance and ensure it works properly.
Steps to Test Your Drive
Copy Test Files: Transfer a large file to the USB drive and check the read/write speed.
Check Drive Health: Use tools like CrystalDiskInfo (Windows) or Disk Utility (Mac) to scan for bad sectors.
Eject and Reinsert: Safely eject the drive, reconnect it, and verify it gets detected without issues.
By testing the drive, you can confirm that it’s functioning correctly and is reliable for future use.
Common Mistakes to Avoid When Repairing a USB Drive
When attempting to repair your USB drive, avoid these common mistakes:
Not Backing Up Data: Always try to back up data before starting repairs.
Using Incorrect Tools: Avoid forcing tools or opening the USB without proper knowledge.
Formatting Without Recovery: If data is important, perform recovery before formatting the drive.
Misidentifying the Problem: Make sure you know whether the issue is logical or physical to apply the correct fix.
Avoiding these mistakes will improve your chances of successfully repairing your USB drive.
When to Seek Professional Help
Sometimes, DIY methods might not be enough. If your USB drive is severely damaged, consider professional help.
When to Consult a Technician
The USB drive has burned circuits or damaged chips.
Data recovery is critical, and you don’t want to risk further damage.
All software and hardware repair attempts have failed.
Choosing a Reliable Technician
Look for certified data recovery services.
Check customer reviews and success rates.
Compare pricing and recovery options.
Professional help ensures that advanced tools and techniques are used to fix the USB drive.
Preventing Future USB Drive Failures
Taking good care of your USB drive can prevent issues down the line.
Safe Practices
Always Eject Properly: Use the “Eject” option before removing the USB drive to avoid corruption.
Avoid Physical Damage: Store USB drives in protective cases and avoid dropping or bending them.
Use Quality Drives: Invest in reliable USB brands with good durability and performance.
Backup Data Regularly: Regular backups ensure you don’t lose important files even if the USB fails.
By following these tips, you can extend the life of your USB drive.
Conclusion
Repairing a broken USB drive at home is entirely possible with the right tools, techniques, and patience. Whether it’s a logical error or physical damage, this guide provides step-by-step instructions to help you fix the issue and recover lost data. Always remember to back up your data and take precautions to avoid further damage. With a little effort, you can restore your USB drive to working condition and prevent similar problems in the future.
FAQs
1. Can I fix a USB drive without losing data?
Yes, you can use tools like CHKDSK or recovery software to repair the drive while keeping your files intact.
2. How do I know if my USB drive has logical or physical damage?
Logical damage causes file errors or unrecognized drives. Physical damage involves visible issues like broken connectors.
3. Is reformatting a USB drive safe for data?
Reformatting erases all data. Always perform recovery before reformatting to save your files.
4. What is the best free software to repair a USB drive?
Tools like CHKDSK, TestDisk, and Recuva are excellent free options for USB repair and data recovery.
5. How can I prevent my USB drive from breaking again?
Always eject safely, store it properly, and avoid physical stress to extend its lifespan.

Would you like to succeed at Forex trading?
Fast track your success and follow the high performance Forex signals from 1000pip Builder. These Forex signals are rated 5 star on Investing.com , so you can follow every signal with confidence.
All signals are sent by a professional trader with over 10 years investment experience. This is a unique opportunity to see with your own eyes how a professional Forex trader trades the markets.
